


What to wear hiking in cold weather comes down to a three layer system: a moisture wicking base layer against your skin, an insulating mid layer to trap heat, and a wind and water resistant outer shell to block the elements. You then adjust those layers as your body heats up and cools down, because staying dry matters more than staying bundled up.
We based this guide on manufacturer specifications, published gear standards, and common trail practice. The goal is simple: keep sweat moving away from your skin, hold warmth close to your body, and stay protected from wind, rain, and snow without overheating.
The Short Answer: Dress in Layers, Not in Bulk
Cold weather hiking is a balancing act. You generate a lot of heat while climbing, then lose it fast when you stop to rest or when the trail drops into shade. A single heavy jacket cannot handle both extremes, but a layered system can.
The base layer manages moisture, the mid layer insulates, and the shell protects. Add or remove pieces as conditions change, and carry the layers you shed in your pack so they are ready when you need them again.
| Layer | Job | Common Materials |
|---|---|---|
| Base layer | Move sweat off your skin | Merino wool, polyester, nylon blends |
| Mid layer | Trap body heat | Fleece, down, synthetic insulation |
| Shell | Block wind, rain, and snow | Water resistant or waterproof breathable fabrics |
If you want a deeper look at what goes against your skin, our roundup of base layers for cold weather covers the fabric trade-offs in detail.
Start with the Base Layer
The base layer is the most important piece because it sits against your skin. Cotton is the wrong choice in cold weather: it soaks up sweat, loses insulation when wet, and dries slowly, which is how hikers end up cold and shivering.
Merino wool and synthetic fabrics both wick moisture and dry faster. Merino tends to feel softer and resists odor better, while synthetics usually dry quicker and cost less. Either works; the key is a snug fit that keeps fabric in contact with your skin.
Upper and Lower Body
- A long sleeve top with a close fit and flat seams to reduce chafing under pack straps.
- Leggings or a fitted bottom layer that moves with your stride and does not bunch at the knees.
- A spare base layer top in your pack for multi day trips, since a damp one is hard to dry overnight.
For the lower half, our guide to hiking leggings for cold weather explains fabric weight and fit options worth comparing.
Choose a Mid Layer That Matches the Conditions
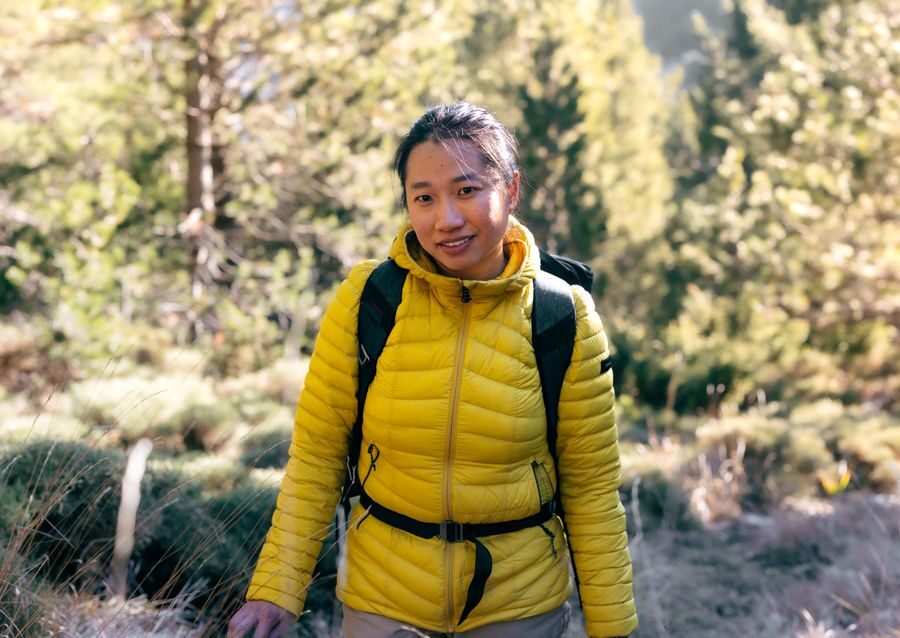
The mid layer is your adjustable furnace. Fleece is breathable, durable, and forgiving when damp, which makes it a solid choice for active hiking. Down offers the most warmth for its weight but loses loft when wet, so it works best in dry cold or as a camp layer. Synthetic insulation sits between the two: warmer than fleece for the weight and more water resistant than down.
Think about how hard you will be working. A steep climb in temperatures near freezing may call for a light fleece only, while a flat valley walk in the teens may need a puffy jacket over a base layer.
Ventilation Matters
Look for features that let heat escape: pit zips on shells, half zips on fleece, and adjustable cuffs. Opening a zipper for a few minutes is faster than stopping to strip off a layer.
Add a Shell for Wind, Rain, and Snow
Wind strips heat faster than still air, and wet fabric stops insulating. A shell blocks both. For most cold weather hiking, a water resistant, windproof soft shell is enough, especially if you are moving. In steady rain or wet snow, a waterproof breathable hard shell with taped seams is the better call.
Water resistance is often rated using the IPX scale, where higher numbers mean better protection against water ingress. Breathability ratings are separate, and a shell that blocks rain but traps sweat can leave you clammy from the inside.
Shell Features to Compare
- A hood that fits over a hat and stays put in wind.
- Pit zips or chest vents for dumping heat on climbs.
- A hem you can cinch to keep snow out.
- Room to layer a puffy underneath without compressing the insulation.
Hands, Feet, Head, and Face
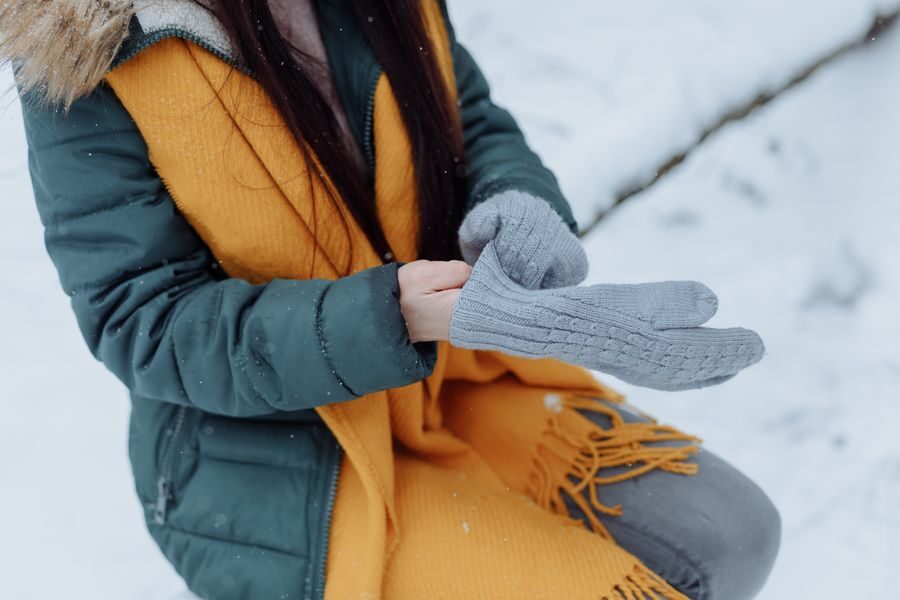
Your extremities get cold first because your body pulls blood inward to protect your core. Gloves or mittens, warm socks, and a hat or headband are not optional extras in cold weather, they are part of the system.
Mittens keep fingers warmer than gloves because they share heat, but gloves allow better dexterity for zippers, maps, and snacks. Many hikers carry a thin liner glove plus a warmer overmitt. For feet, a wool or synthetic sock with a snug but not tight fit keeps circulation working; tight socks actually make feet colder.
Quick Adjustments
- Add a hat or buff before you feel chilled, not after.
- Swap damp liner gloves for dry ones at rest stops.
- Loosen laces slightly if toes feel numb, then retie before descending.
- Cover your face with a buff or balaclava when wind picks up.
Common Mistakes and Who Can Skip What
The most common mistake is dressing for the trailhead instead of the trail. You will be coldest in the first ten minutes and warmest on the climb, so start slightly cool and add layers as you go.
Another frequent error is wearing a waterproof shell all day. Unless it is actively raining or windy, a shell traps sweat and soaks your base layer from the inside. Save it for the conditions it is built for.
Who Can Skip Which Layer
- Mild cold (roughly 40 to 50 °F) and dry: many hikers can skip the insulated mid layer and use a base layer plus a light fleece or wind shell.
- Short, fast hikes: a shell may be unnecessary if you are moving hard and the sky is clear, but pack it anyway.
- Dry cold with no precipitation: a soft shell often replaces a full hard shell.
- Wet, windy, or snowy days: nobody should skip a shell, and a spare dry base layer is worth the weight.
For the lower body, some hikers prefer leggings under shorts or a skirt, while others want a full pant. Our roundup of hiking pants for curvy women and the option of men's convertible hiking pants show how fit and venting change the equation.
Safety Notes
Cold weather hiking carries real risks, including hypothermia and frostbite. Watch for uncontrolled shivering, numbness, or confusion, and treat them as signals to add layers, eat, drink, and get out of the wind. Rules about trails, permits, and closures vary by location, so check with the land manager before you go.
Frequently Asked Questions
Is cotton really that bad for cold weather hiking?
Yes. Cotton holds sweat against your skin, loses insulation when wet, and dries slowly. In cold conditions that combination pulls heat away from your body and raises the risk of hypothermia. Choose wool or synthetic fabrics instead.
How many layers should I wear while hiking in cold weather?
Most hikers use three: a base layer, a mid layer, and a shell. The exact combination changes with temperature, wind, precipitation, and how hard you are working. Carry the layers you remove so you can add them back at rest stops.
Should I wear the same clothes uphill and downhill?
No. Climbing generates heat, so you will often shed layers on the way up. Descending is cooler and often windier, so add insulation and a shell before you start down. Adjusting early prevents a chill.
What socks and boots work best in cold weather?
Wool or synthetic socks that fit snugly without squeezing your feet work best. Boots should have room for thicker socks and a little toe wiggle room, since tight footwear restricts circulation and makes feet colder. Waterproof footwear helps in snow and slush.
Can I wear leggings alone in cold weather?
It depends on the temperature and the leggings. Lightweight leggings work for mild cold or high output activity, while insulated or wind blocking leggings handle colder days. In deep cold, many hikers add a shell pant over leggings.
How do I keep from overheating while wearing all these layers?
Start slightly cool, unzip vents and pit zips on climbs, and remove a layer before you start sweating heavily. It is easier to stay dry by adjusting often than to dry out wet clothing on the trail.
Final Thoughts
What to wear hiking in cold weather is less about any single piece of gear and more about how the pieces work together. A moisture wicking base layer, an insulating mid layer, and a protective shell give you the flexibility to match changing conditions, and small items like gloves, hats, and warm socks keep your extremities functional.
Start cool, adjust early, stay dry, and carry the layers you shed. That approach keeps you comfortable on the move and safe when the trail turns cold, windy, or wet.