


To choose bikepacking bags, start by deciding where you need capacity on the bike, then match bag type and volume to your route, climate, and camping setup. Fit comes before features: a bag that rubs your frame, tire, or legs will ruin a trip no matter how well it is made.
We based this guide on manufacturer specifications, published gear standards, and common trail practice. Use it to narrow your options, then compare specific models in our roundups linked below.
The Main Bikepacking Bag Types and Who Each Suits
Bikepacking bags replace a traditional rack and pannier setup with soft bags that strap directly to the frame, handlebar, seatpost, and top tube. That keeps weight centered and narrow, which helps on singletrack, rough gravel, and hike-a-bike sections. The trade-off is less total volume and more careful packing.
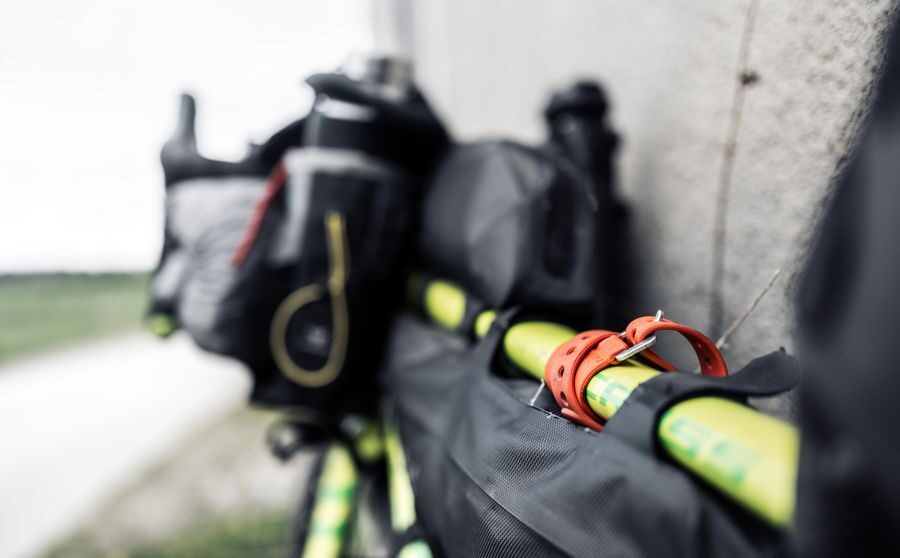
Most riders mix two or three types rather than relying on one bag. A frame bag carries the heaviest dense items, a seat pack holds bulky sleep insulation, and a handlebar roll takes light bulky layers or a tent. Top tube and saddle bags handle small essentials you want within reach.
Quick Match by Rider and Trip
| Bag Type | Best For | Main Trade-Off |
|---|---|---|
| Frame bag | Heavy tools, food, water bladders, dense loads | Reduces space for bottles and can limit standover |
| Handlebar bag | Sleeping bag, tent, light bulky layers | Can affect steering and cable routing |
| Seat pack | Sleeping bag, clothes, bulky soft items | Can sway if overloaded or poorly supported |
| Top tube bag | Phone, snacks, battery, small tools | Limited volume and can interfere with knees |
| Saddle bag | Minimalist day rides and spare layers | Small capacity and depends on saddle rails |
If you want a single starting point, a frame bag plus a seat pack covers most overnight trips. Riders on drop bars often add a handlebar bag for bulky insulation, while flat bar riders may prefer a larger front roll. Compare dedicated options in our bikepacking bags roundup.
Key Features That Matter When You Compare Bags
Material and construction decide how long a bag survives abrasion, sun, and rain. Common fabrics include coated nylon and polyester, often with a waterproof laminate or polyurethane coating. Seams matter as much as fabric: taped or welded seams resist water better than simple stitched seams.
Water resistance is usually described with IP ratings for enclosures or with fabric hydrostatic head numbers. An IPX rating tells you how well a closure resists water ingress, while hydrostatic head describes how much water pressure a fabric can hold before leaking. Neither replaces a dry bag for electronics or insulation in sustained rain.
- Closure type: roll-top closures shed water well and let you compress volume; zippers are faster to access but need flaps or covers.
- Attachment system: straps, hook-and-loop, buckles, and bolt-on mounts each have different stability and frame wear trade-offs.
- Shape and taper: tapered bags fit narrow frame triangles and seatposts better than boxy bags.
- Reflective details: small reflective accents help in traffic and at camp without adding much weight.
- Weight: lighter fabrics save ounces but usually sacrifice abrasion resistance.
- Access: side pockets and map sleeves help, but every opening is a potential leak point.
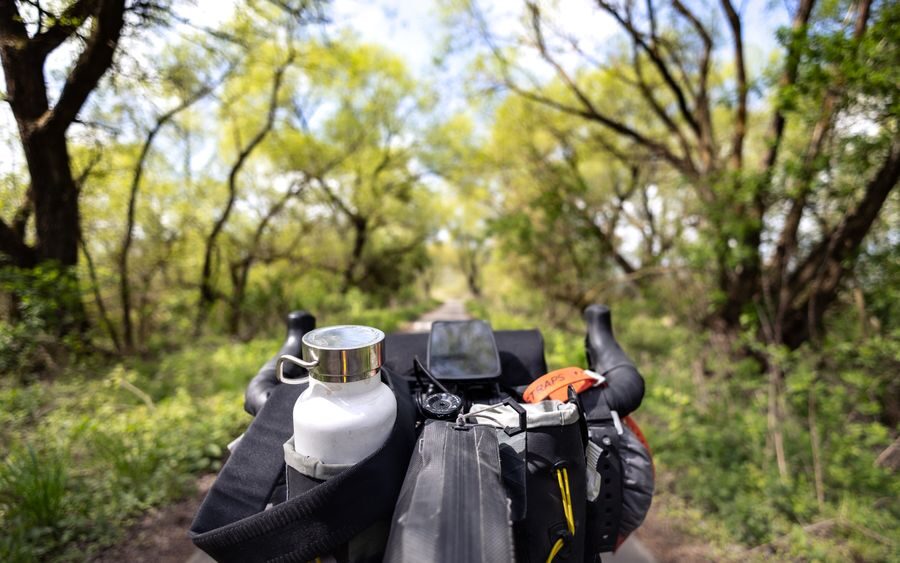
For handlebar and front setups, check how the bag interacts with cables, brake levers, and lights. A bag that pushes cables or blocks a light mount is a safety problem, not just an inconvenience. Our bikepacking handlebar bags roundup covers shapes designed for different bar types.
How to Match Bag Size to Your Bike and Load
Measure before you buy. Frame bags are sized by the usable triangle, so note the length along the top tube, the height at the seat tube, and the height at the head tube. A bag that is slightly small is better than one that rubs, because contact points wear fabric and paint.
Seat packs are sized by drop from the saddle rails to the rear tire and by how much the bag can sway. Long seat packs need a stable saddle and enough exposed seatpost. Handlebar rolls are sized by width between the drops or grips and by the gap to the front tire at full suspension compression or steering angle.
- List your gear by volume and weight, then group dense items for the frame bag and bulky light items for the seat or handlebar bag.
- Measure your frame triangle, seatpost exposure, and handlebar clearance with the bike loaded and the suspension compressed if applicable.
- Choose the smallest bag that fits your load, because extra volume invites overpacking and sway.
- Check bottle and cage clearance, especially on small frames where a frame bag may block both bottles.
- Confirm that straps or mounts do not cover brake, shift, or dropper post cables.
If your frame triangle is small, consider a partial frame bag plus top tube bags instead of one large bag. Riders with limited seatpost exposure may do better with a front roll and fork mounts than a long seat pack. Our bikepacking frame bags roundup includes shapes for compact and full-suspension frames.
Installation and Setup Considerations
Install bags on a clean bike and protect contact points with frame tape or a thin rubber shim where straps rub. Tighten straps evenly and recheck them after the first few miles, because fabric settles and loads shift. A bag that moves at the start will move more when it is full.
Keep heavy items low and centered, and keep frequently used items in top tube or saddle bags rather than buried in a seat pack. Balance left and right weight on handlebar setups so steering stays predictable. Test a fully loaded bike on a short local ride before committing to a long route.
- Route straps away from moving parts, cables, and brake lines.
- Leave clearance for tires at full compression and for your legs during pedaling.
- Use dry bags inside larger bags for insulation and electronics.
- Check that lights and reflectors remain visible after loading.
- Re-tighten all attachment points after the first hour of riding.
Safety gear matters as much as luggage. Wear a helmet certified to CPSC standards for cycling, and replace it after any crash or impact, even if it looks fine. Use lights and reflective gear in traffic, and remember that e-bike rules vary by state and trail, so check local regulations before riding.
For small essentials, a top tube bag or saddle bag keeps items accessible without unpacking. Our aero top tube bags and bike saddle bags roundups cover compact options for tools, snacks, and phones.
Common Buying Mistakes to Avoid
The most common mistake is buying capacity before measuring the bike. A large seat pack on a bike with little seatpost exposure will sway, rub the tire, or both. Similarly, a full frame bag on a small frame can block bottles and make the bike awkward to push.
Another mistake is trusting a single water resistance claim. Zippers, seams, and closure design all affect real-world performance, and no soft bag stays dry in every condition. Pack critical items in a separate waterproof layer rather than relying on the outer bag alone.
- Buying for a hypothetical future trip instead of the trips you actually ride.
- Ignoring cable rub and frame wear until paint is damaged.
- Overloading a handlebar roll and making steering heavy.
- Choosing a bag that cannot be accessed without removing it from the bike.
- Assuming one bag type will cover every season and route.
Also avoid buying bags that depend on a specific rack, saddle, or frame mount unless you plan to keep that setup. Compatibility changes when you change bikes, and bikepacking gear often outlasts one frame. If you are unsure, start with a frame bag and a seat pack, then add front capacity as your trips get longer.
Who Does Not Need Bikepacking Bags
Riders who stay in hotels, hostels, or supported lodgings may not need a full soft bag setup. A small saddle bag and a top tube bag can carry tools, snacks, and a layer for day rides. If you already own panniers and ride mostly pavement or smooth gravel, they may be simpler and easier to pack.
Commuters and casual riders often do fine with a backpack or a single rack bag. Bikepacking bags shine when you need narrow, centered weight for rough terrain or when your bike cannot take a rack. If neither applies, you can skip the expense and complexity.
That said, even day riders benefit from a small frame or top tube bag for tools and food. The goal is not to own every bag type, but to carry what you need without interfering with the bike. Start minimal and add capacity only when a specific trip demands it.
Find the Right Bags by Need
Once you know your bag types and sizes, compare specific models in our roundups. Each guide focuses on a different part of the bike, so you can match capacity and mounting style to your setup.
- For a full overview of soft luggage systems, see bikepacking bags.
- For triangle and partial frame options, see bikepacking frame bags.
- For front rolls and bar-mounted capacity, see bikepacking handlebar bags.
- For rear capacity and sway control, see bikepacking seat packs.
- For compact essentials, see aero top tube bags and bike saddle bags.
Your sleep system also drives bag volume. A bulky synthetic bag may need a larger seat pack or front roll, while a compact down bag frees space. If you are still choosing insulation and shelter, compare bikepacking sleeping bags and bikepacking tents before you finalize bag sizes.
Frequently Asked Questions
How do I know what size frame bag to buy?
Measure the usable triangle along the top tube, seat tube, and head tube, then compare those numbers to the bag dimensions. Leave a small gap at contact points and check bottle clearance. A slightly smaller bag is usually better than one that rubs.
Are bikepacking bags waterproof?
Many are water resistant, and some use waterproof fabrics with taped or welded seams. Zippers and closures are common leak points, so pack electronics and insulation in a separate dry bag. IP ratings and hydrostatic head numbers describe different kinds of water resistance, not a guarantee of dryness.
Can I use bikepacking bags on any bike?
Most bikes can take some combination of frame, seat, handlebar, and top tube bags, but fit varies. Small frames, full suspension, dropper posts, and aero seatposts can limit options. Measure clearance and check cable routing before buying.
How much weight can a seat pack carry?
It depends on the bag, the saddle rails, and the seatpost exposure. Long seat packs sway more when overloaded, so keep them for bulky light items. Check the manufacturer's stated limits and test a loaded setup on a short ride.
Do I need a handlebar bag if I already have a seat pack?
Not always. A seat pack plus frame bag covers many overnight trips. A handlebar bag helps when you need extra volume for a sleeping bag or tent, or when you want front access to layers. Add it only if your current setup lacks space.
What safety gear should I pair with bikepacking bags?
Wear a CPSC certified helmet and replace it after any crash or impact. Use lights and reflective elements in traffic, especially when bags cover existing reflectors. E-bike rules vary by state and trail, so check local regulations before riding.
Final Thoughts
Choosing bikepacking bags comes down to fit, load, and terrain. Measure your bike, group your gear by weight and volume, and pick the smallest bags that carry what you need without rubbing or swaying.
Start with a frame bag and a seat pack, then add front or top tube capacity as your trips grow. Compare specific models in our roundups, and test a loaded setup on a short ride before your first overnight.